

Triggers are the third step in creating automation. They determine when a guest enters the automation based on specific events or conditions.
There are 10 trigger conditions available. You can choose one or multiple triggers and set the automation to activate when all selected conditions are met or when any specific condition is satisfied.

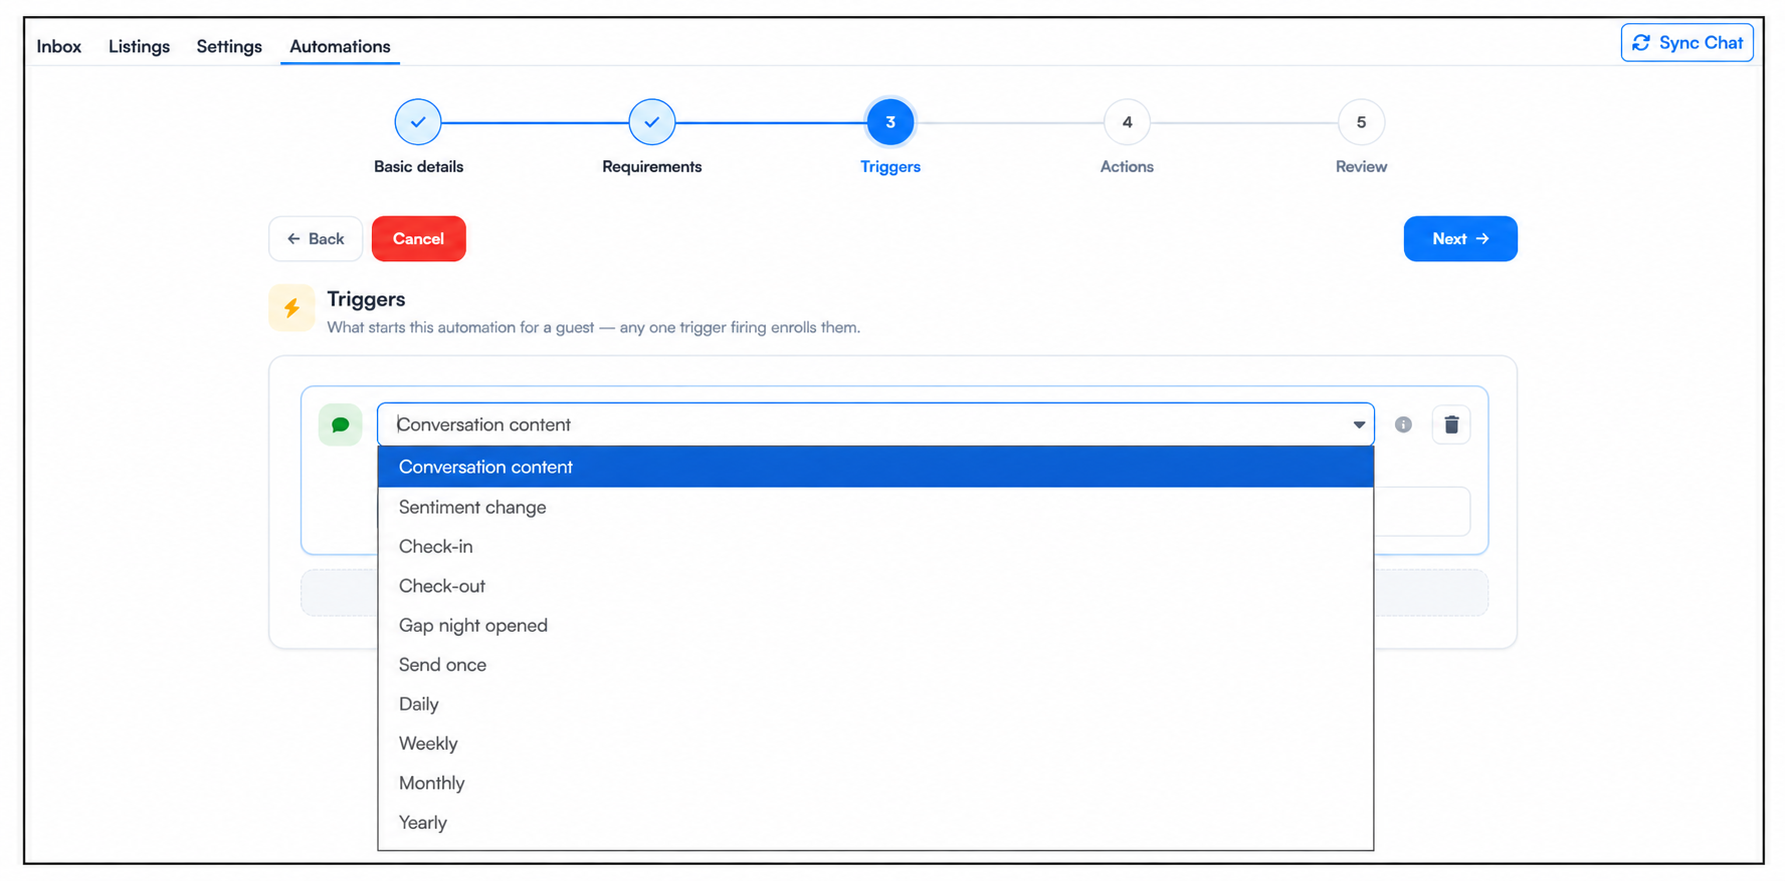
Conversation Content is the first trigger, allowing you to specify the type of guest message that should start the automation. For example, you can set the trigger to activate when a guest asks about parking details.
When the guest sends a matching message, the automation checks the configured requirements. If all requirements are met, the guest enters the automation and the workflow continues with the selected actions.
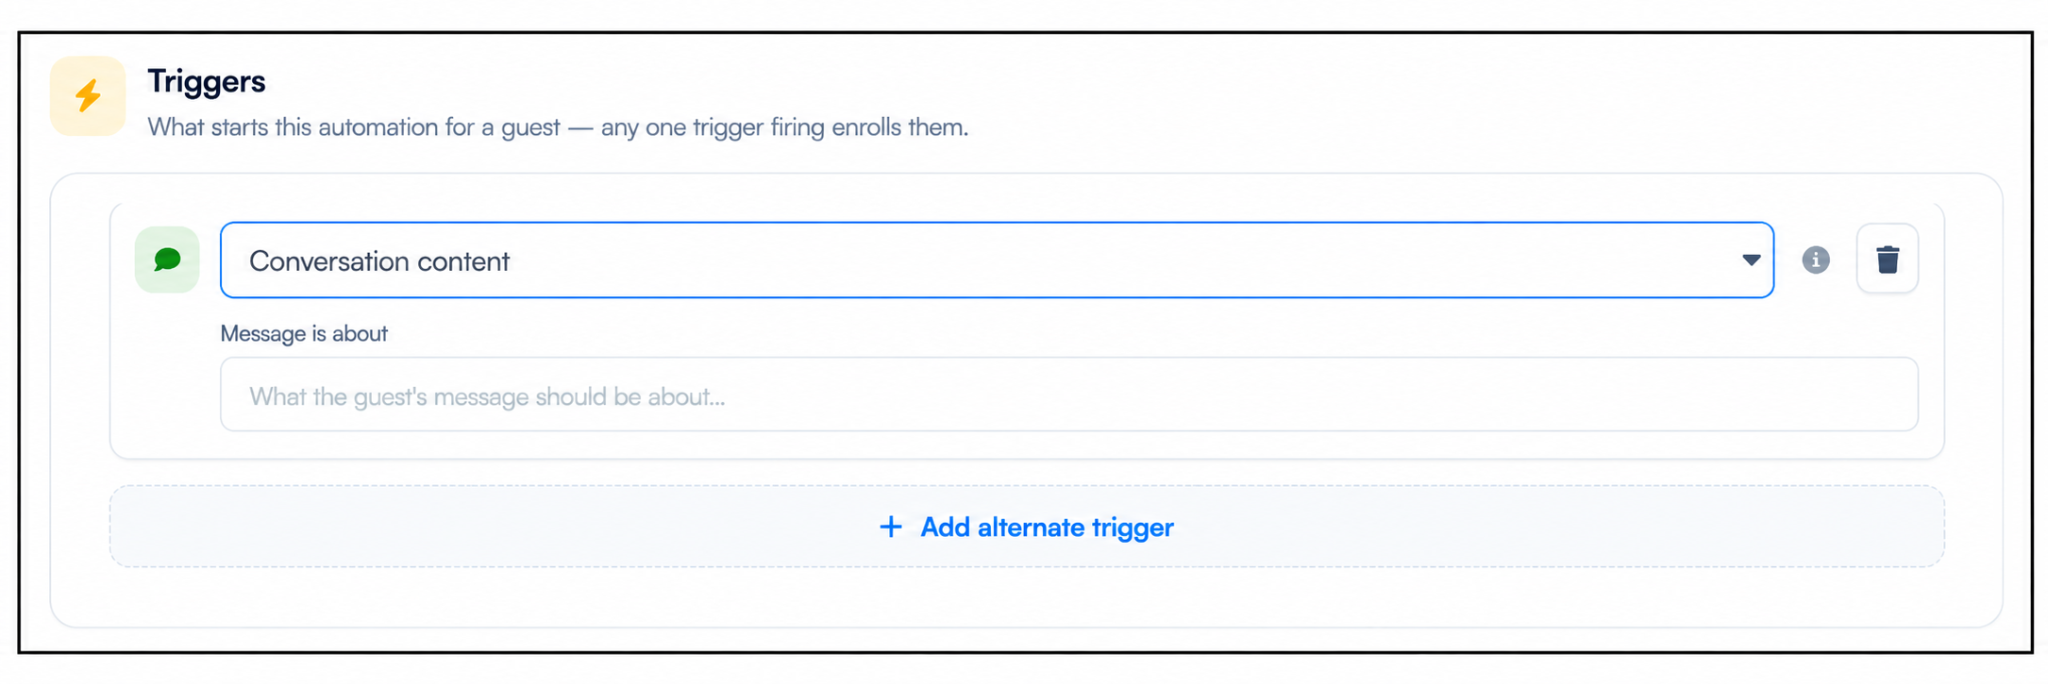
The Sentiment Change trigger starts the automation when a guest’s message sentiment becomes Positive, Neutral, or Negative. You can also set a delay in hours or minutes before the automation is triggered and continues to the next step.
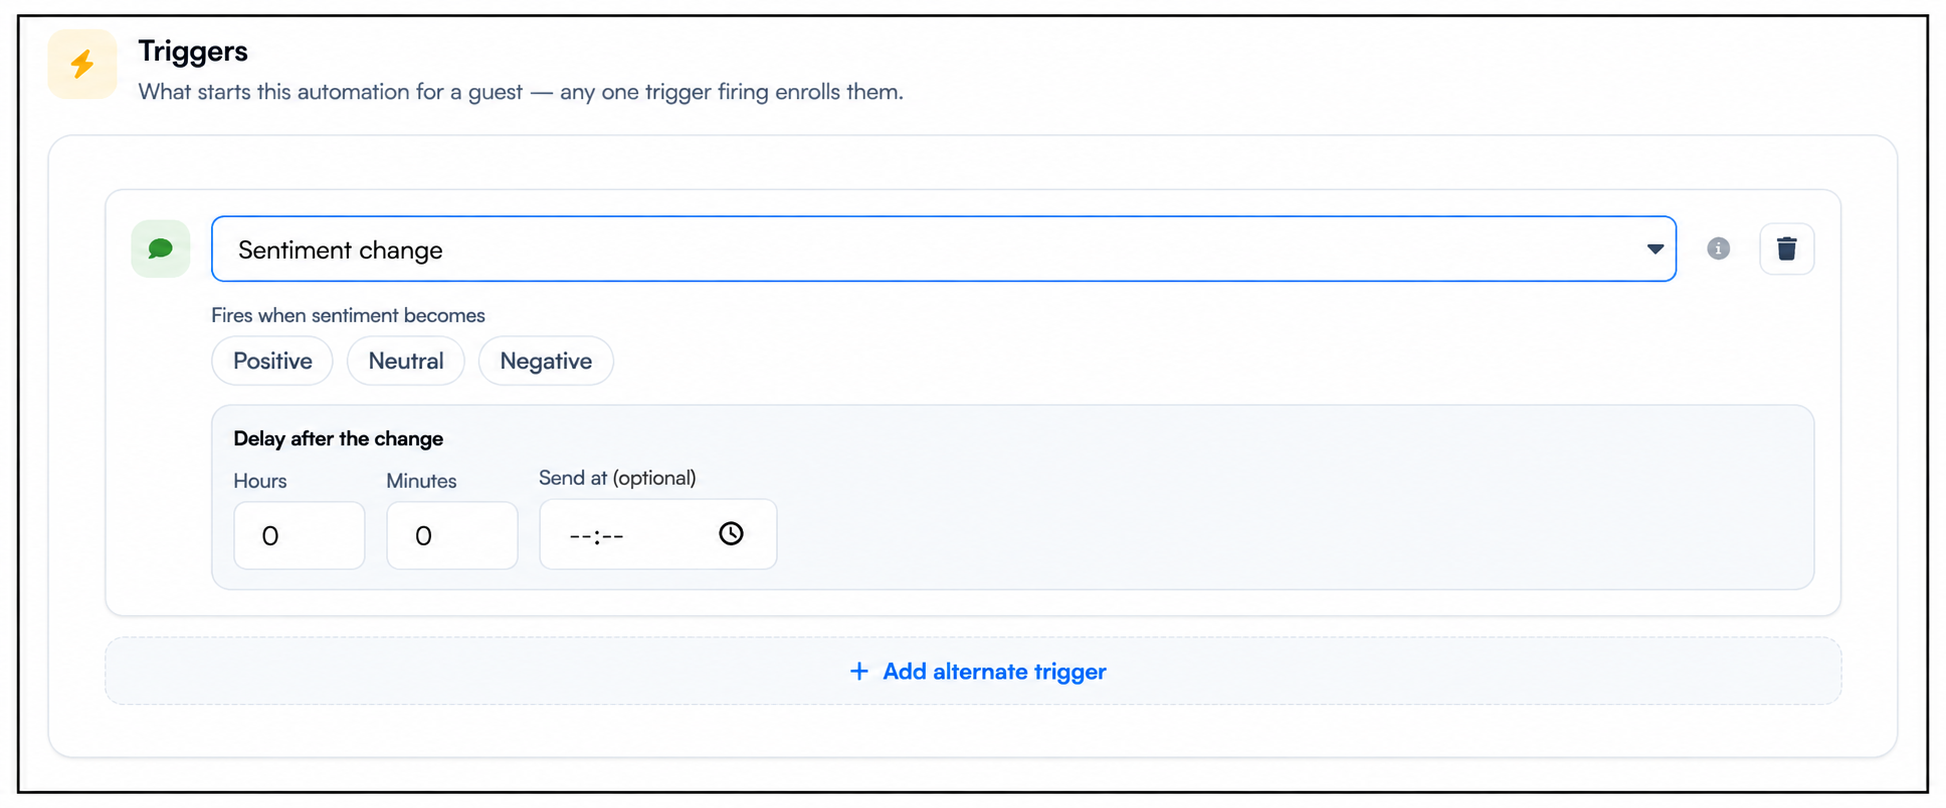
The Check-in trigger starts an automation based on a guest’s scheduled check-in time. You can choose whether the automation should trigger before, on, or after check-in.
You can also set an optional specific time for the automation to run. Once the selected check-in timing is reached, the automation is triggered, the guest is checked against the configured requirements, and, if the requirements are met, the workflow continues to the next step.
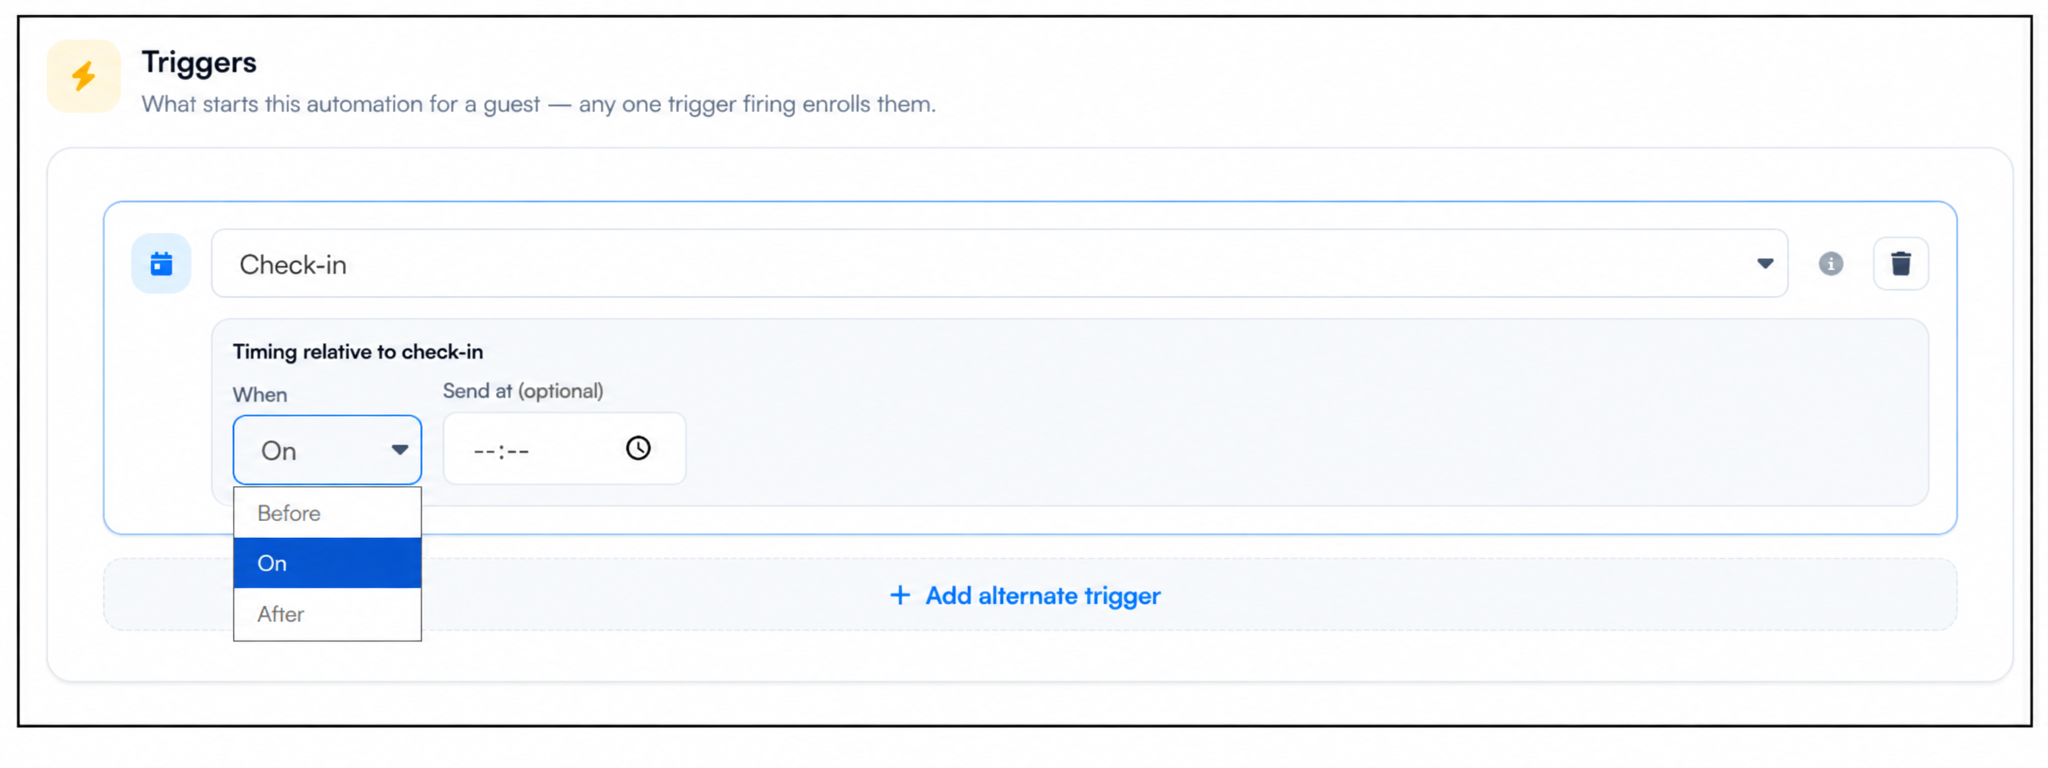
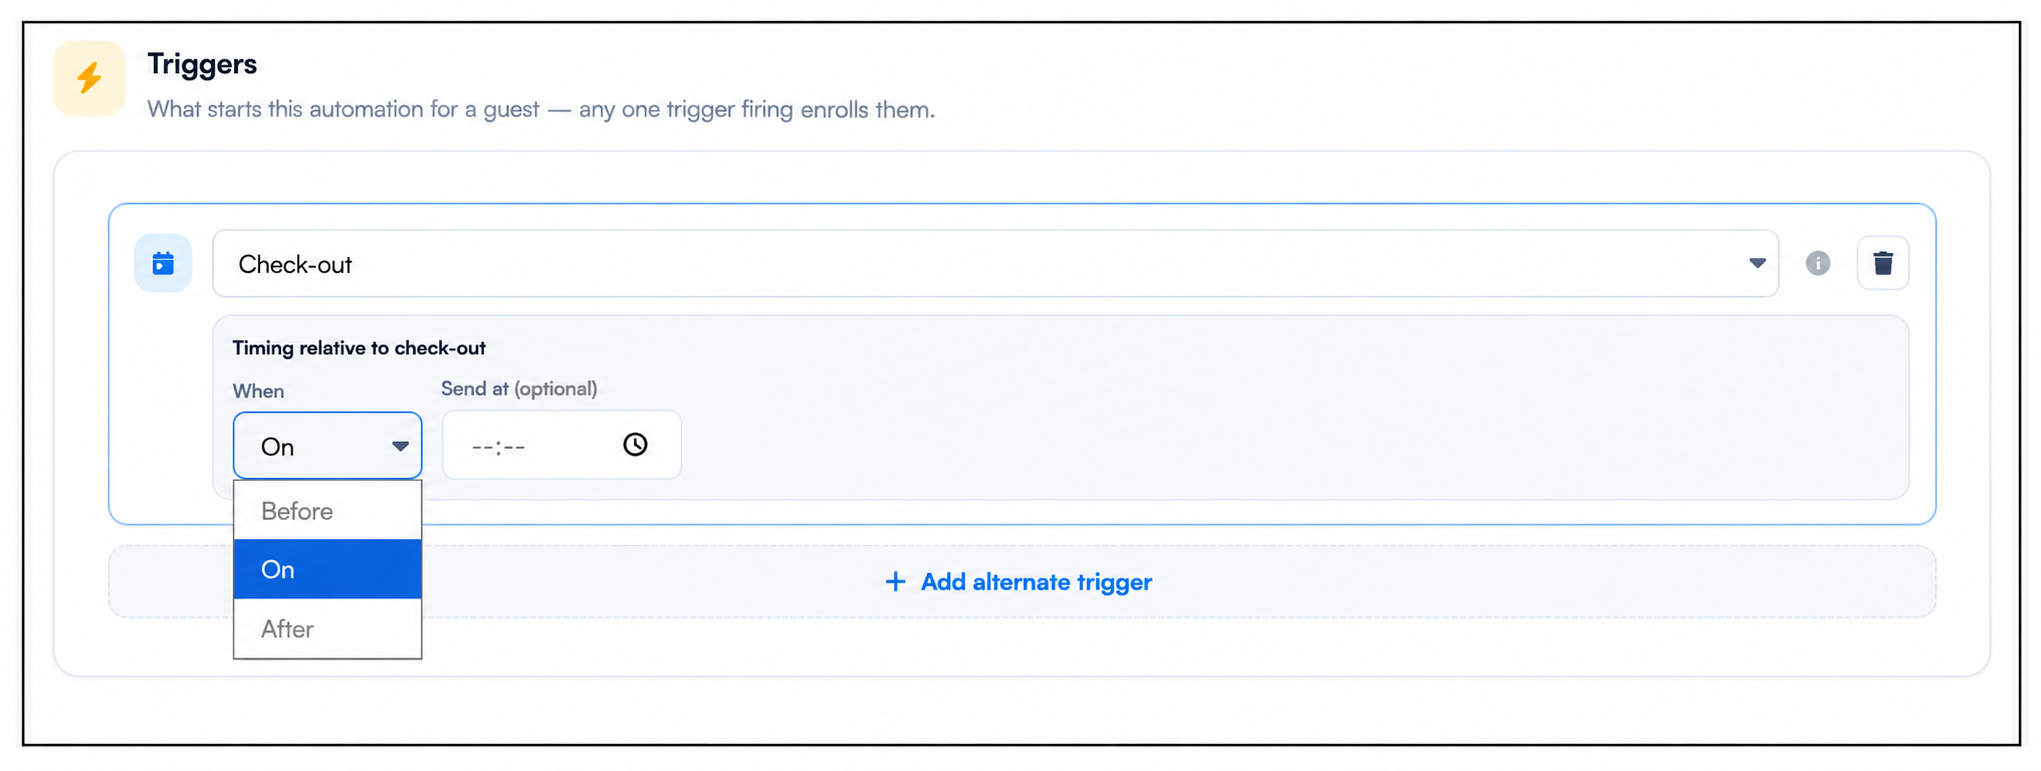
The Check-out trigger starts the automation based on a guest’s scheduled check-out time. You can choose whether the automation should run before, on, or after check-out, depending on when you want the workflow to begin.
You can also set an optional specific time for the trigger. Once the selected check-out timing is reached, the automation checks whether the guest meets the configured requirements and, if all conditions are satisfied, the guest enters the workflow and the automation continues to the next action.
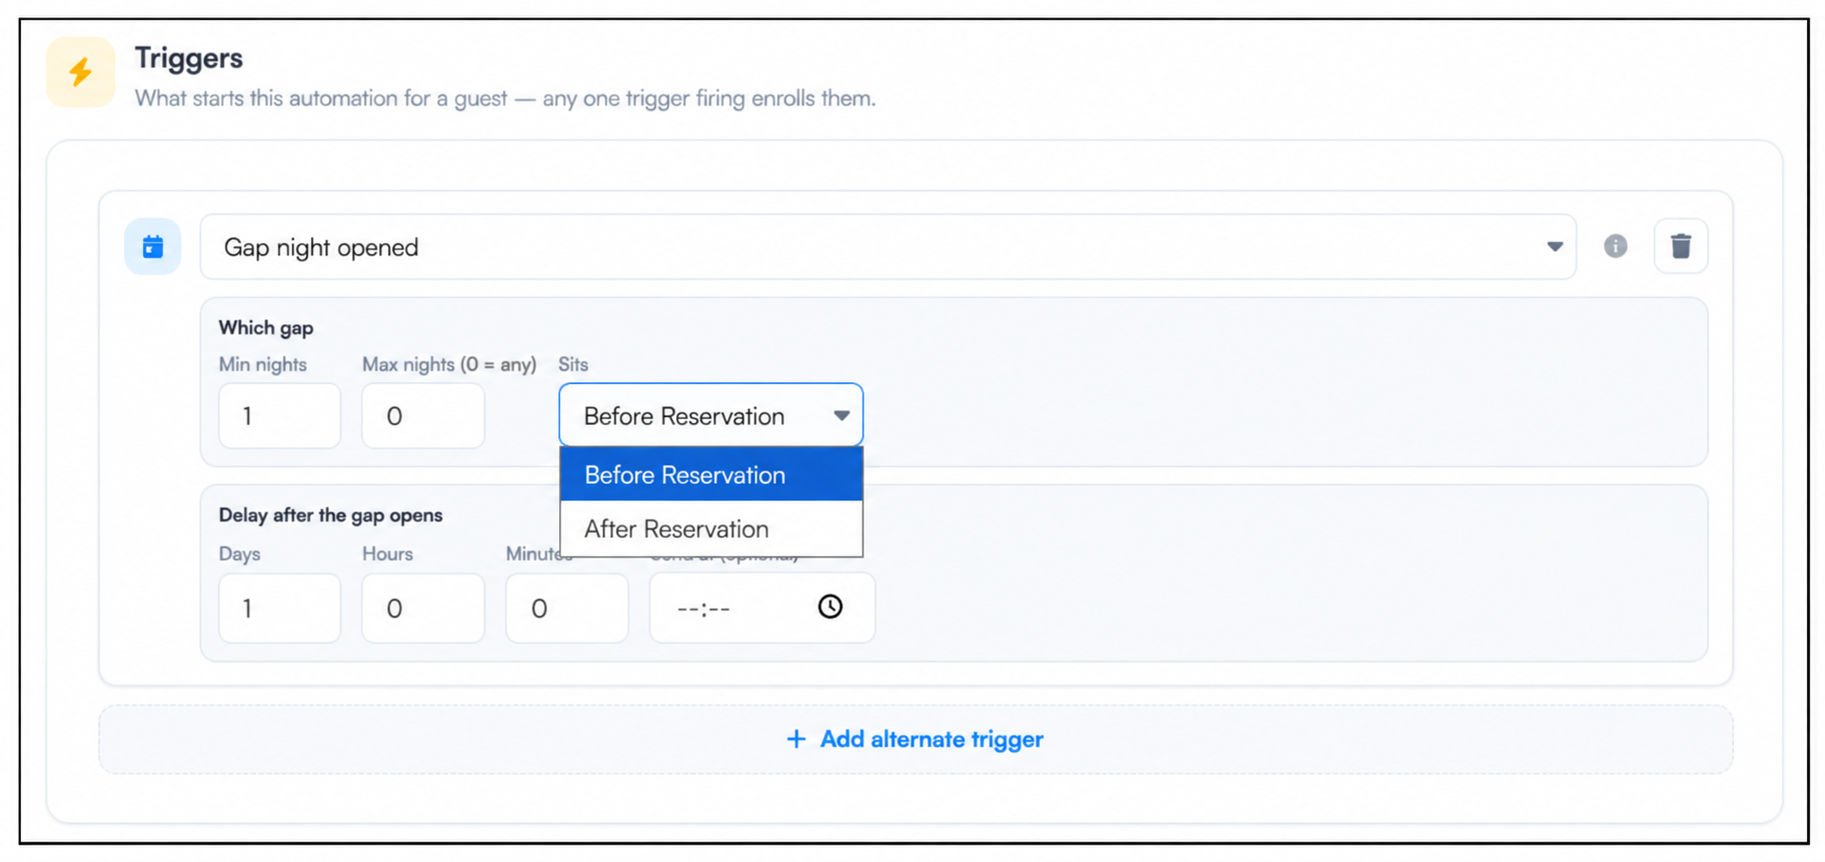
The Gap Night Opened trigger starts the automation when a gap between reservations becomes available. You can set the minimum and maximum number of gap nights and choose whether the gap should occur before or after the reservation.
You can also add a delay in days, hours, or minutes and optionally set a specific time for the trigger to run. Once the configured gap-night conditions are met, the guest enters the automation and the workflow continues with the next actions.
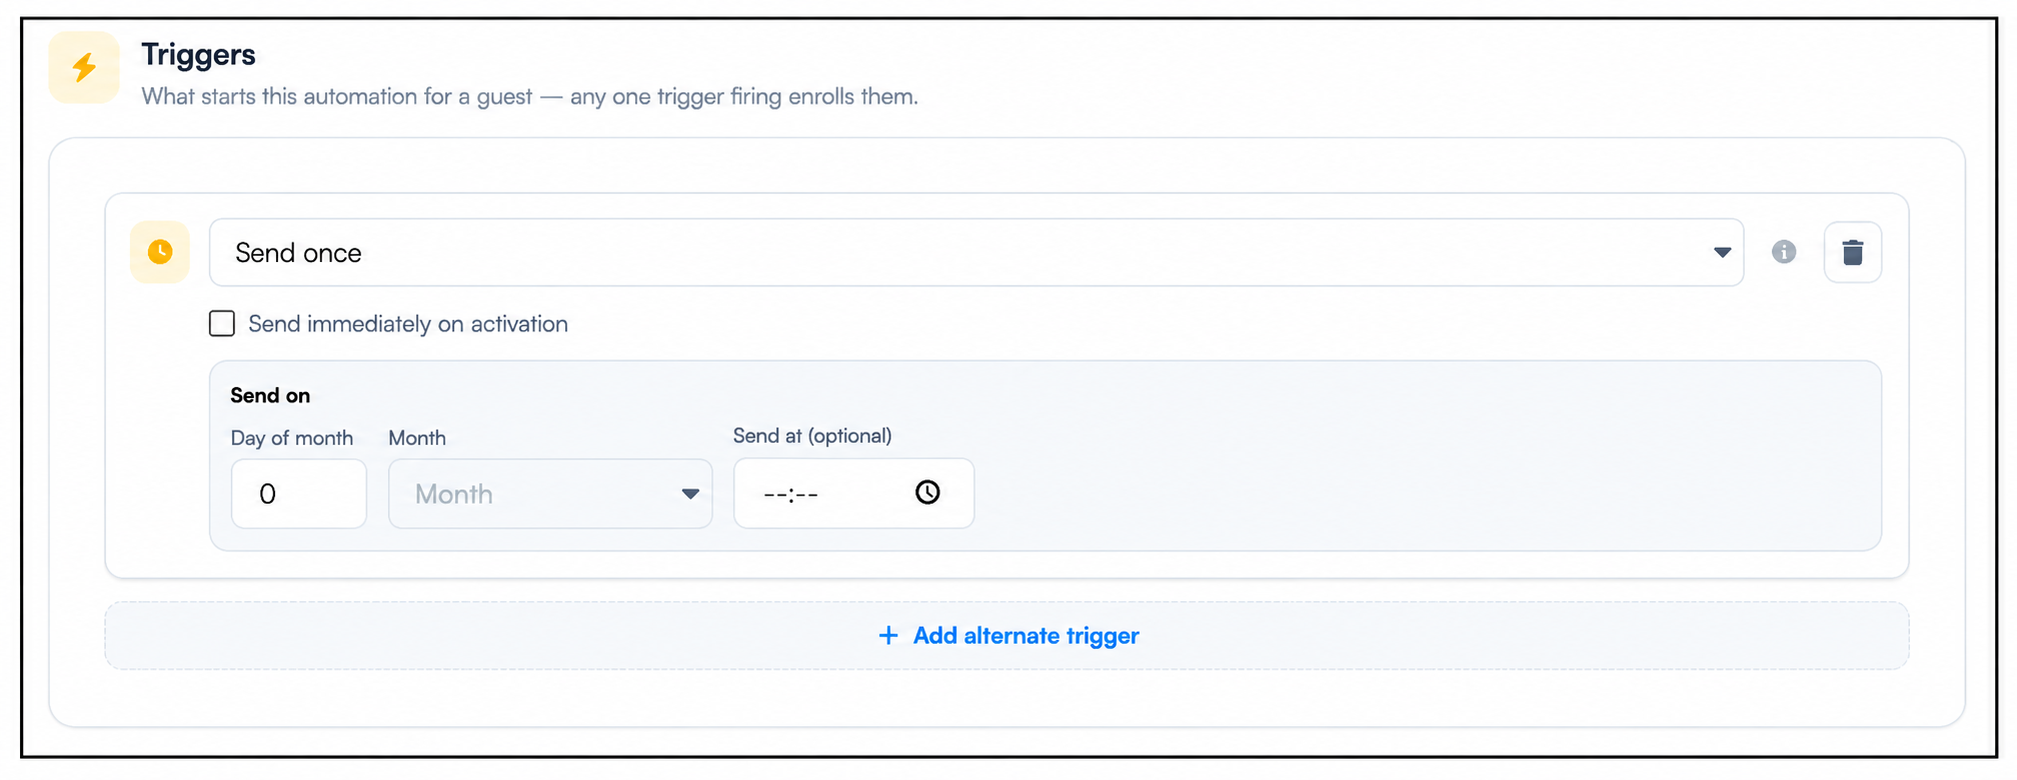
The Send Once trigger allows you to schedule a message that is sent to a guest only one time. You can select Send immediately on activation to send the message as soon as the automation is triggered.
Alternatively, you can choose a specific day, month, and optional time to schedule when the message should be sent. Once the message is delivered, the trigger will not send it again to the same guest.
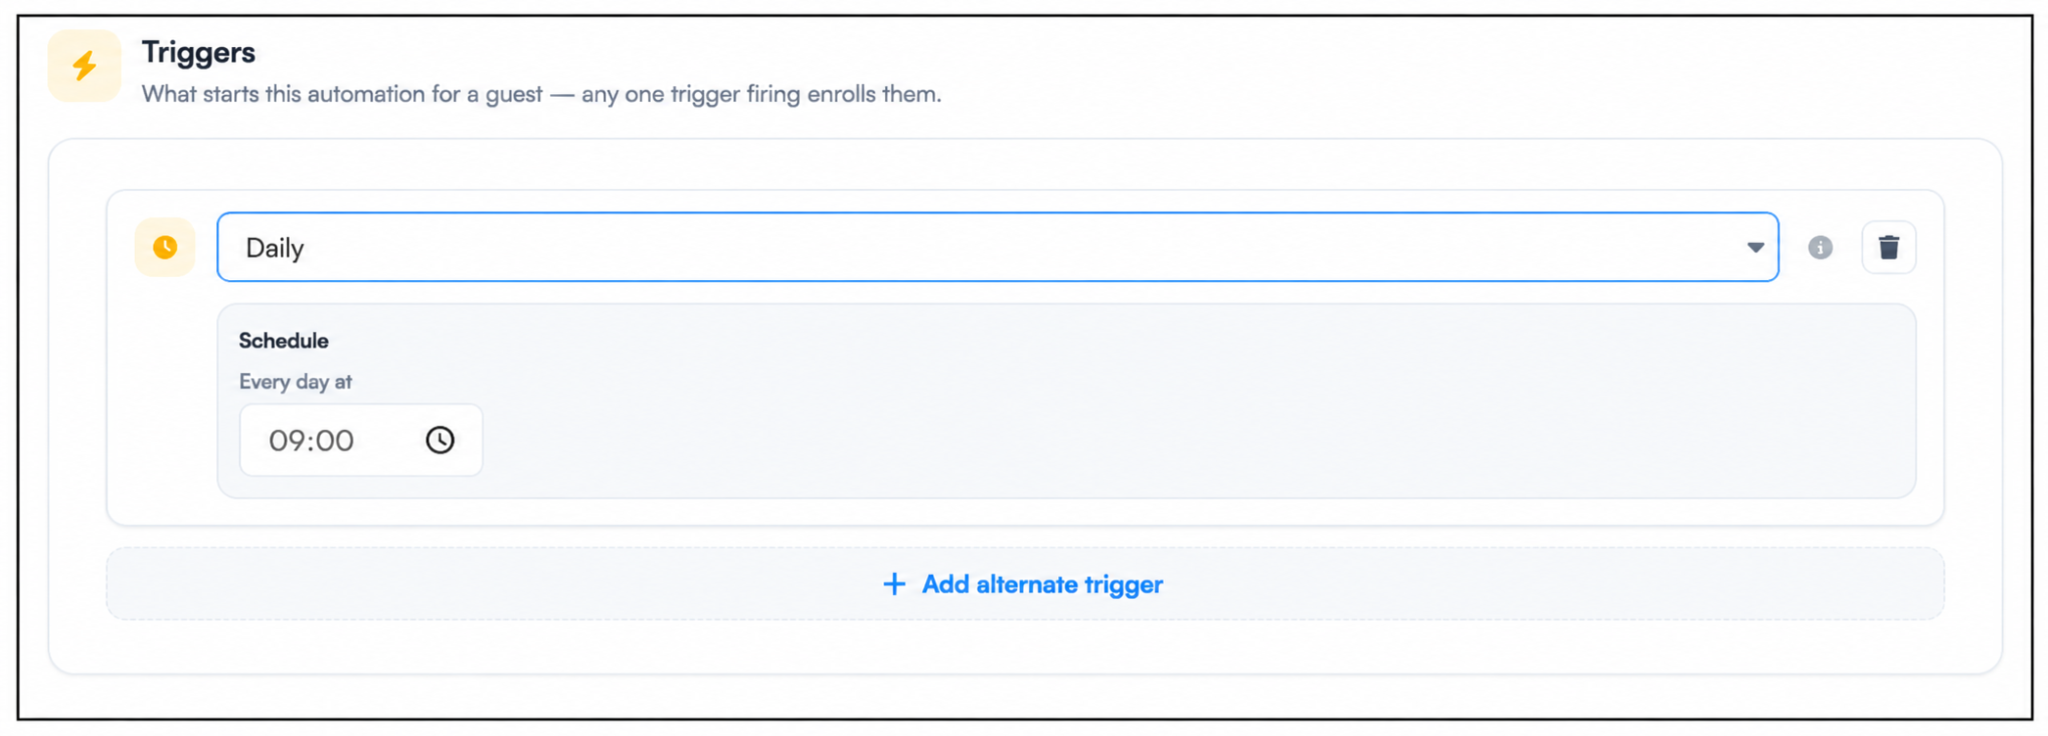
The Daily trigger allows you to start an automation at a specific time every day. Simply choose the time you want the automation to run, and the automation will be triggered automatically each day at the scheduled time.
This is useful for setting up recurring daily actions, such as sending regular messages or performing automated tasks consistently at the same time.
The Weekly Trigger allows you to run an automation on specific days of the week. Simply select one or more days—such as Monday, Wednesday, or Friday—and choose the time you want the automation to run.
Once configured, the automation will automatically trigger at the selected time on each chosen day and continue with the next steps in the workflow.
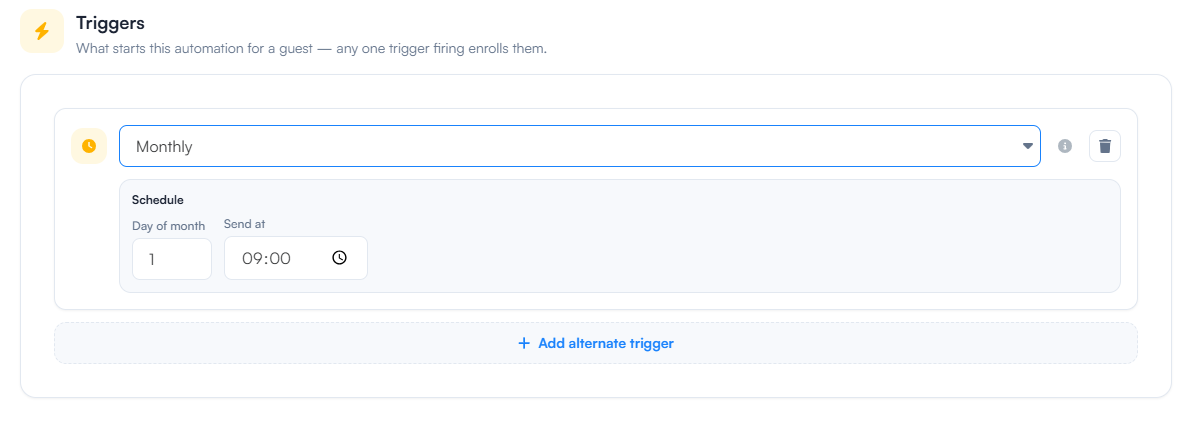
The Monthly Trigger allows you to schedule an automation to run on a specific day each month. Simply select the day of the month and choose the time when you want the automation to start.
Once configured, the automation will automatically trigger at the selected date and time every month and continue with the next steps in the workflow.
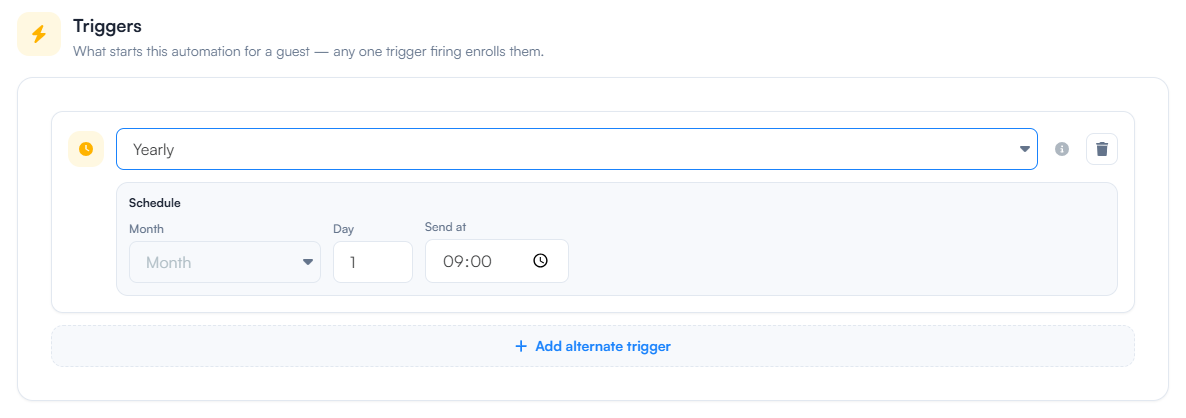
The Yearly Trigger allows you to schedule an automation to run once every year on a specific date and time. Simply select the month, day, and time when you want the automation to start.
Once configured, the automation will automatically trigger at the selected date and time each year and continue with the next steps in the workflow.
Now that you've configured the Trigger details, the next step is to set your Actions. Learn more about setting Actions
For additional assistance or questions, contact the WelcomeScreen support team at: support@welcomscreen.com


.png)