

The Actions step is where you define what the automation should actually do once a guest meets the selected requirements and triggers. This is where you can customize the messages, responses, and other actions that should be carried out for the guest.
There are 8 different actions available.
You can use a single action or combine multiple actions in the same automation. The actions will run in the order you arrange them, allowing you to create a customized workflow based on your automation requirements and triggers.

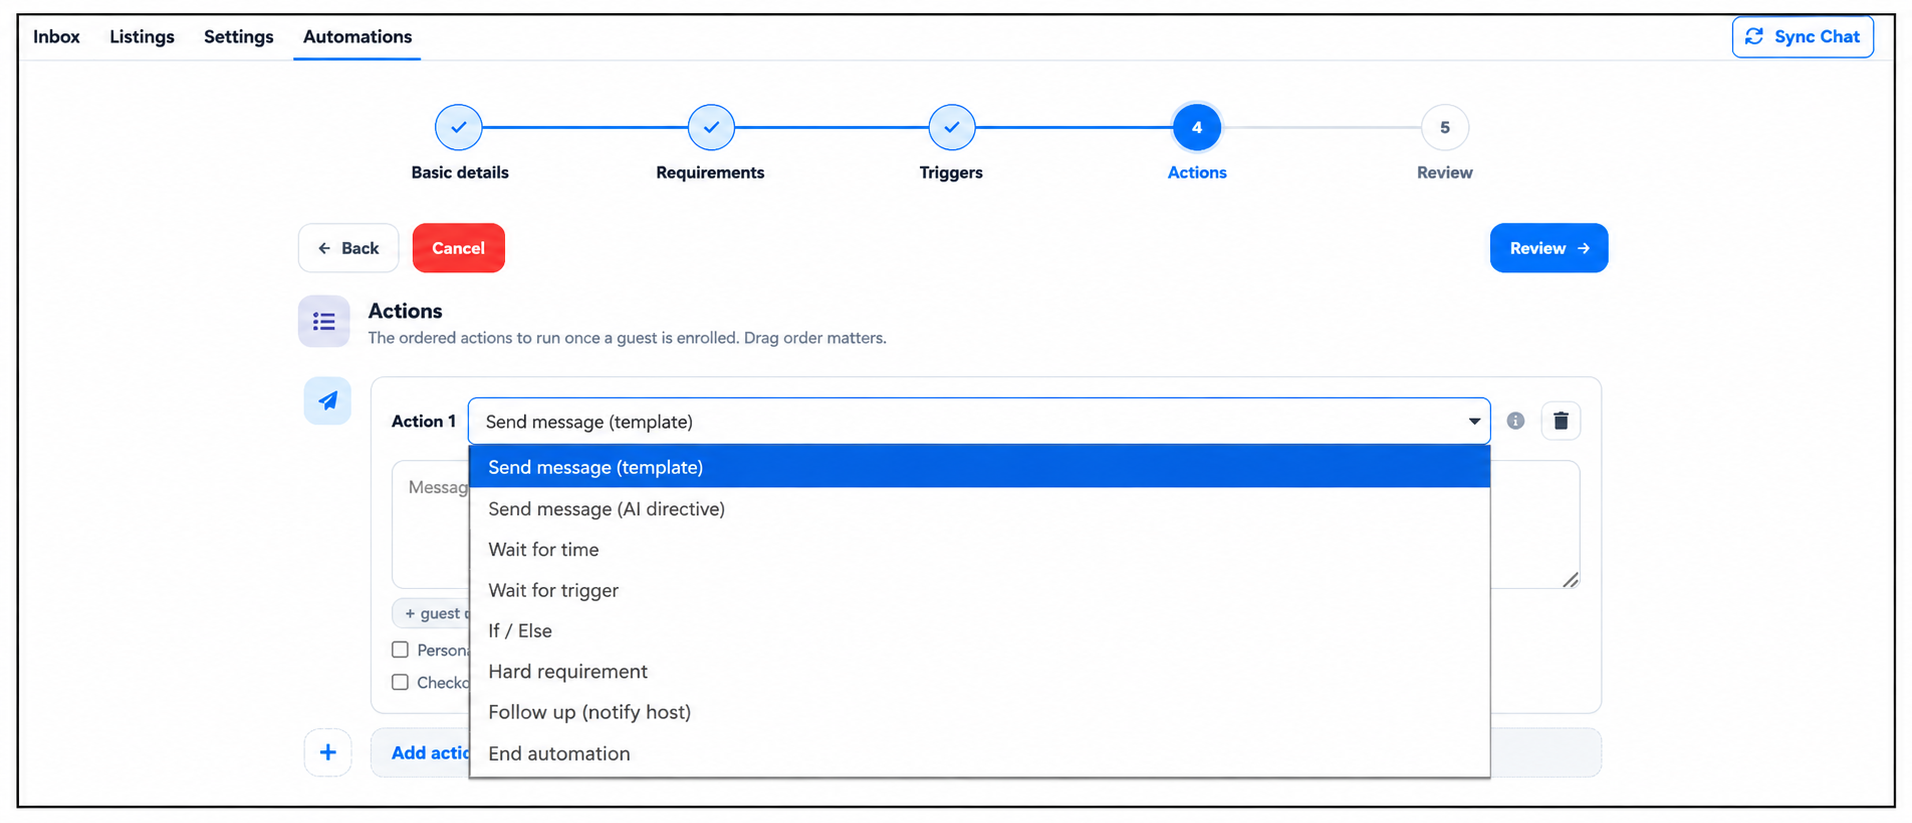
The Send Message action lets you create customized guest messages based on your selected automation triggers and requirements.
For example, if a gap night opens before a reservation, you can notify the guest about an early check-in opportunity or offer an additional discount.
Use placeholders such as [guest_name] and [property_name] to automatically personalize your message. You can also enable AI personalization and use conversation context to create more relevant and personalized guest communication.
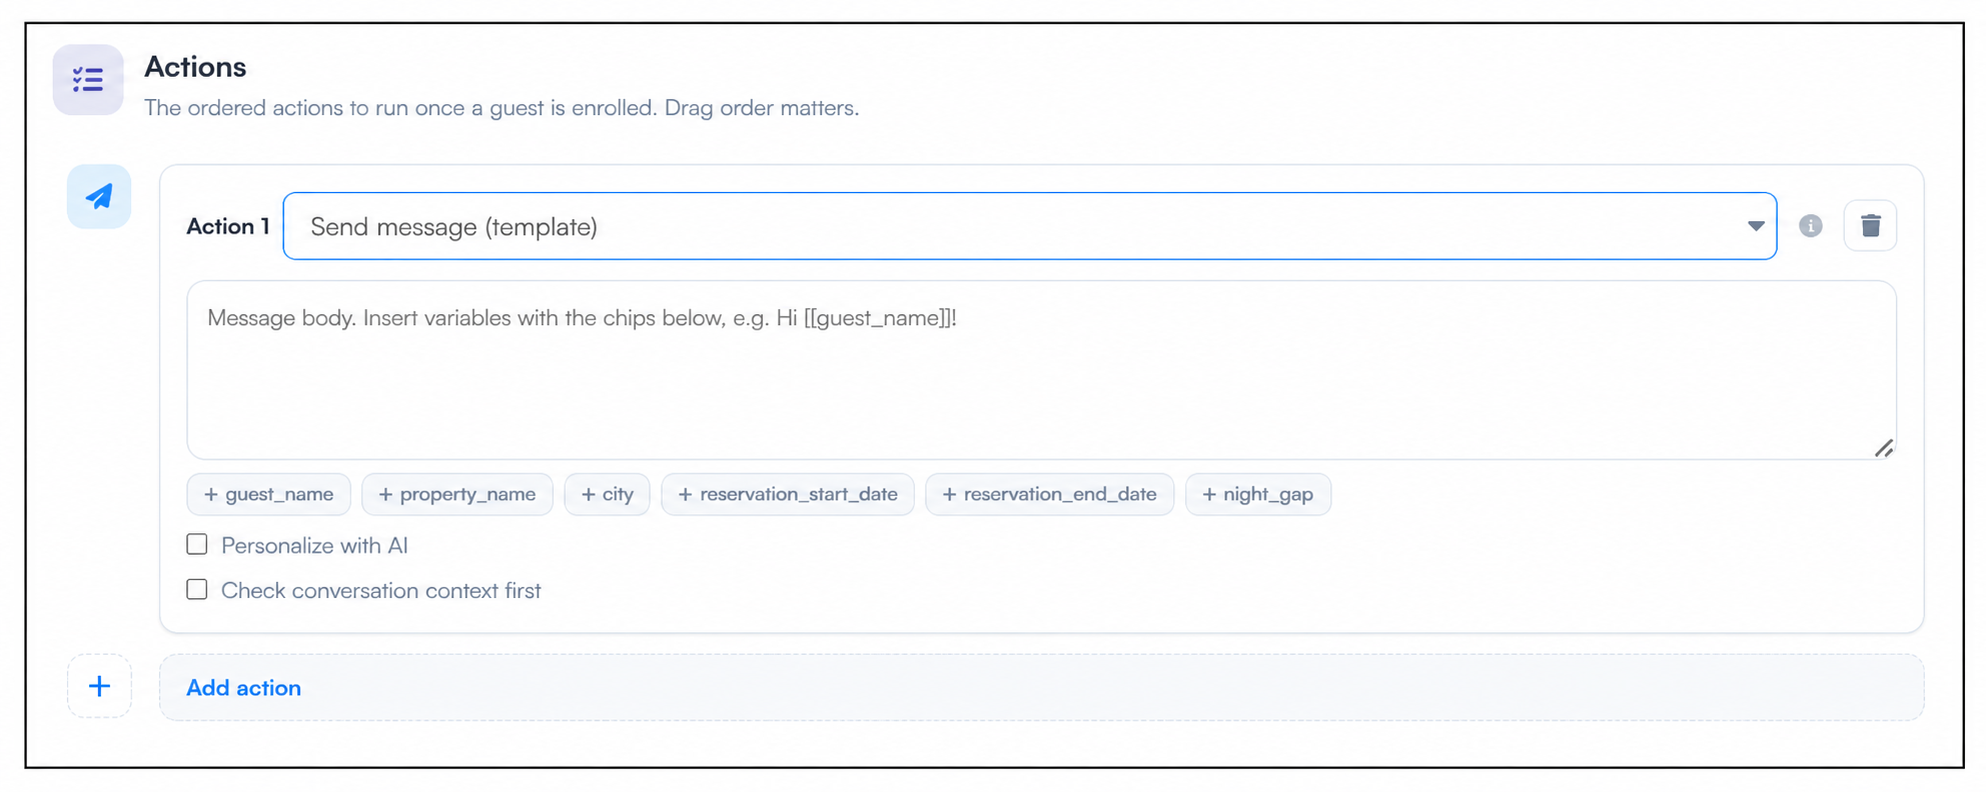
The Send Message (AI Directive) action allows you to instruct the AI on what message to send to the guest. Simply provide a directive, such as thanking the guest or confirming their check-in details, and the AI will generate a relevant response.
You can also enable Check conversation context first to help the AI create a response based on the guest’s previous conversation. To build a more advanced workflow, click + Add action to add one or more additional actions to the automation.
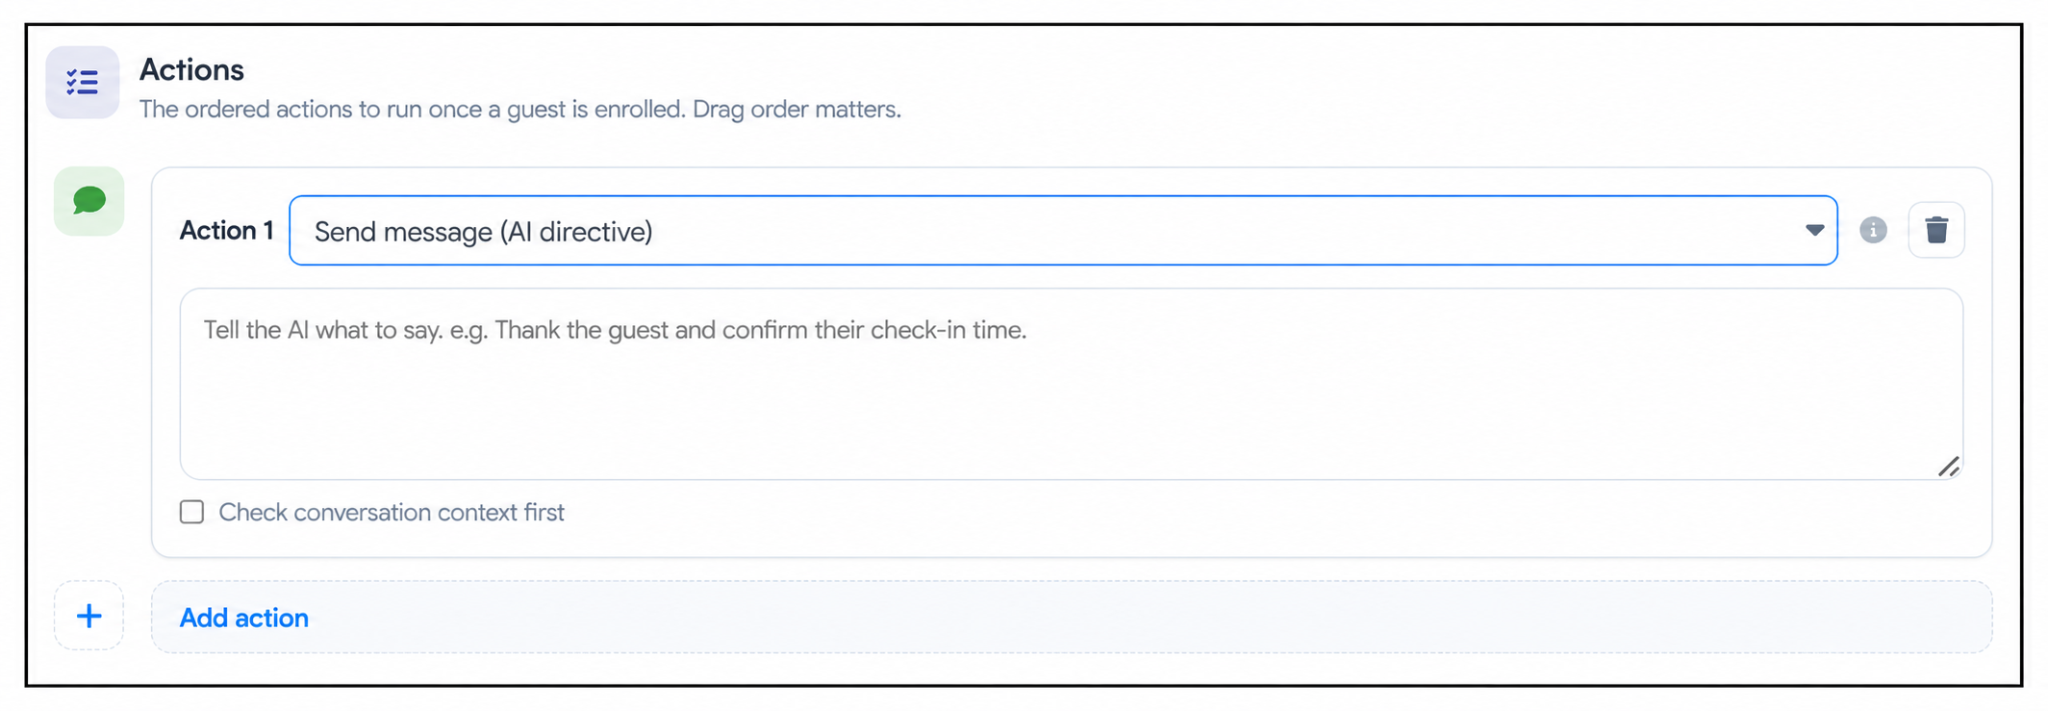
The Wait for Time action allows you to pause the automation for a specific number of hours and minutes or until a selected time before continuing to the next step. This helps you control exactly when the next message or action is executed for the guest.
For example, you can wait for 2 hours before sending a follow-up message.
You can also build a more detailed workflow by clicking + Add action to add additional actions after the waiting period.
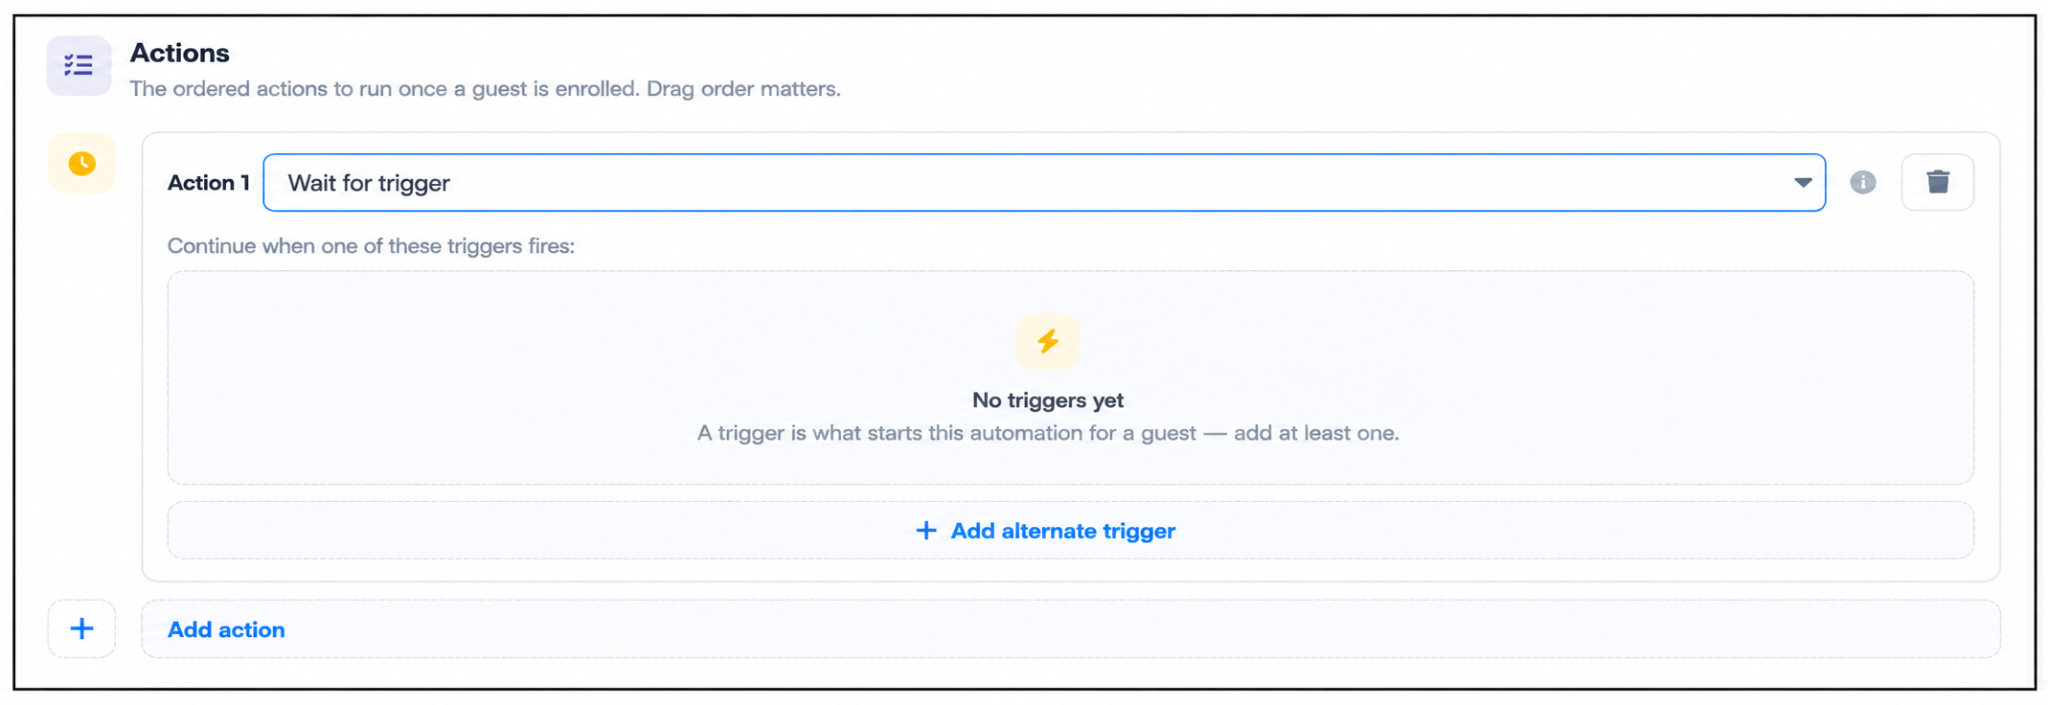
The Wait for Trigger action allows you to use triggers again within your automation. You can choose from any of the 8 available triggers and customize the conditions based on your workflow.
For example, the automation can pause and wait until a specific condition is met, such as receiving a message with particular conversation content. Once the selected trigger fires and its conditions are satisfied, the automation continues to the next action.
You can also add alternate triggers and customize each condition to create a more flexible guest communication workflow.
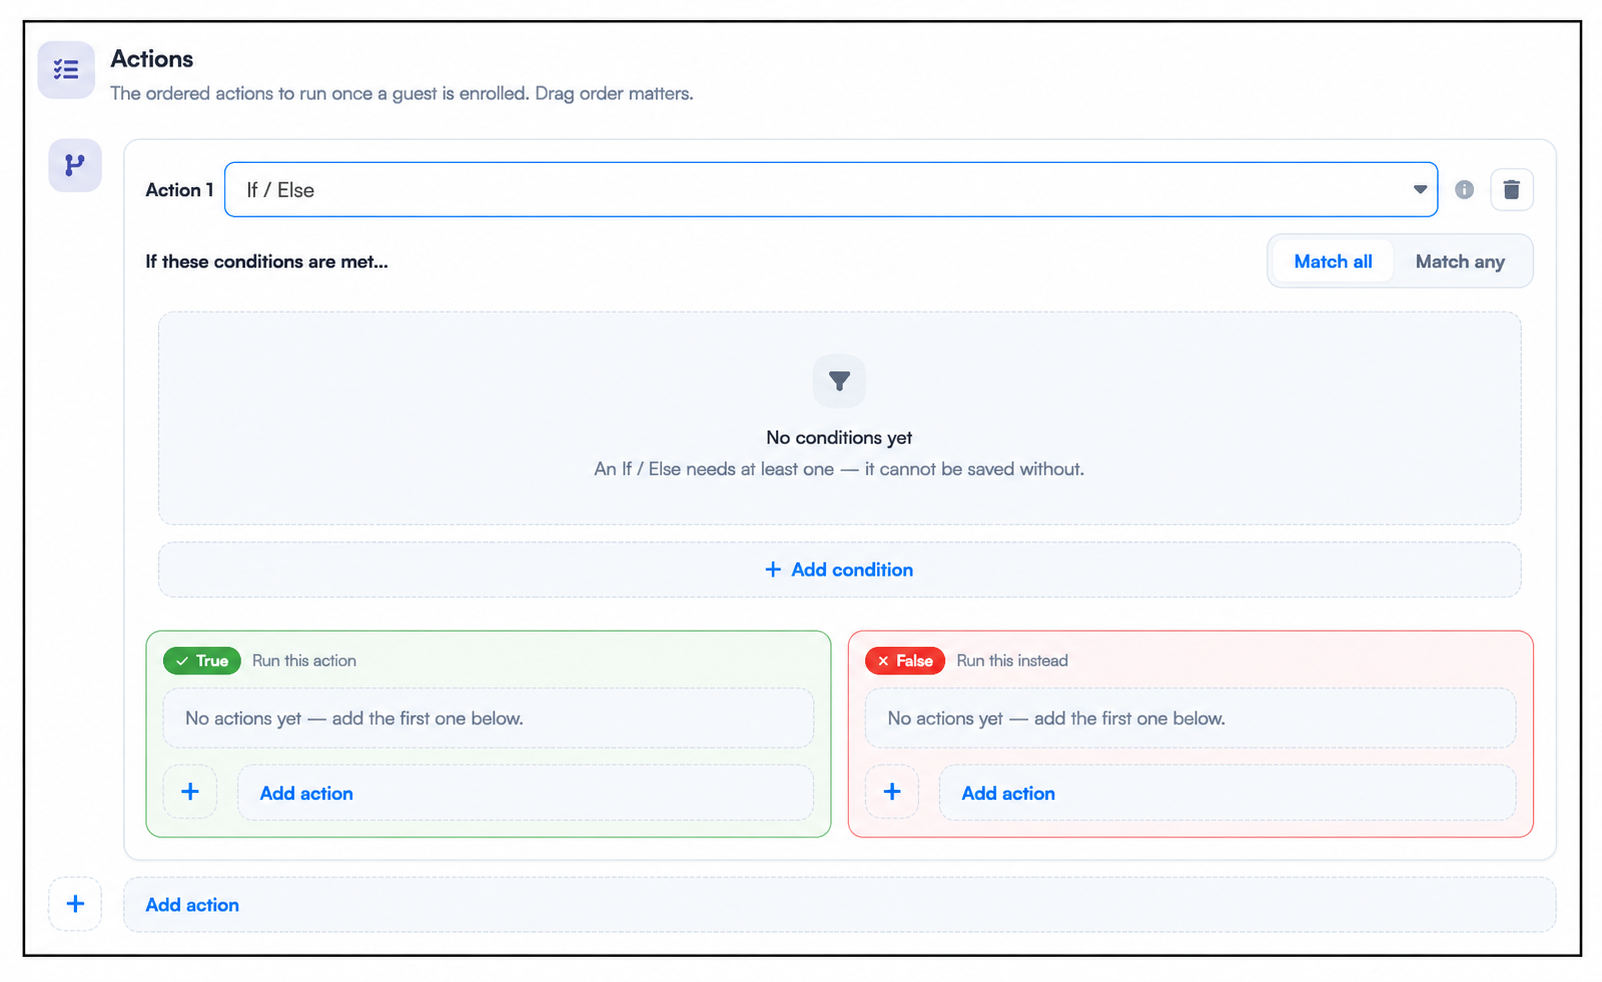
The If / Else action allows you to create conditional paths within your automation. You can choose from the same conditions available under Requirements and customize them based on your workflow.
If the selected condition is satisfied, the guest or automation will follow the True path and continue with the actions you set. If the condition is not satisfied, it will follow the False path, where you can choose alternative actions or end the automation.
This helps you create more flexible and personalized automation flows based on different guest or reservation conditions.
The Hard Requirement action ensures that specific conditions must be met before the automation continues. It uses the same requirement conditions available in the Requirements step and customize them based on your needs.
You can add one or multiple conditions and choose whether all conditions must match or any condition can match. Once the configured requirement is satisfied, the automation will execute the next action, such as sending the message to the respective guest.
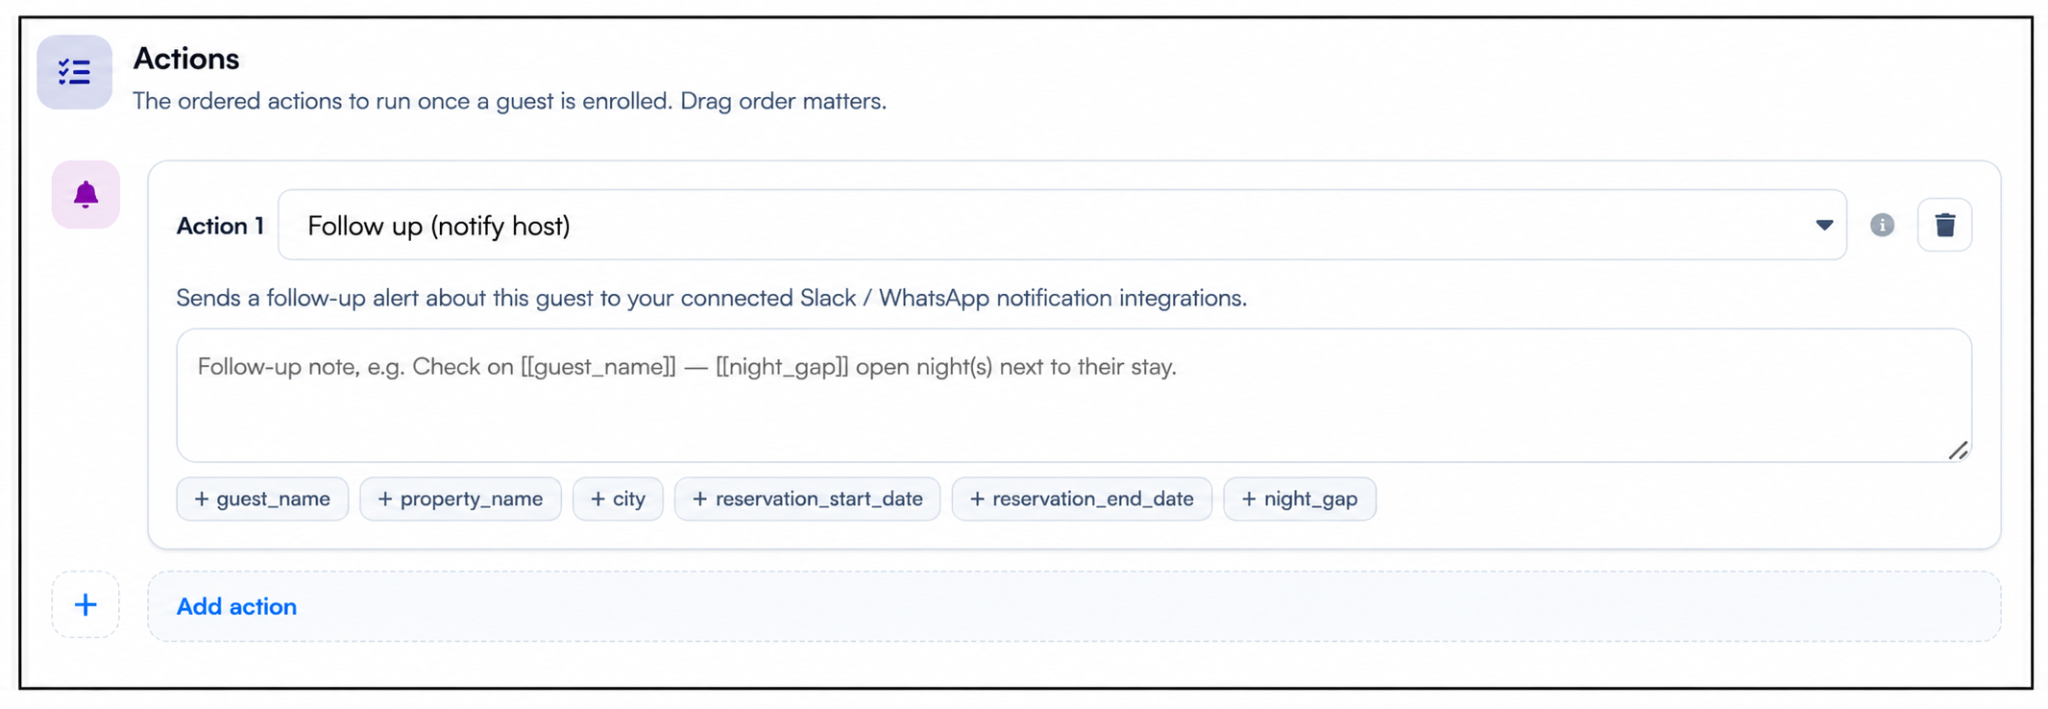
The Follow Up (Notify Host) action helps you stay informed about important guest requests or messages. For example, if a guest accepts an early check-in offer, wants to extend their stay after checkout, or reports an issue during their stay, you can create a follow-up note based on the situation.
Once you connect your Slack or WhatsApp integration, the automation will send you a notification through your connected channel. This makes it easier to stay updated on guest requests and take action quickly without having to constantly check conversations.
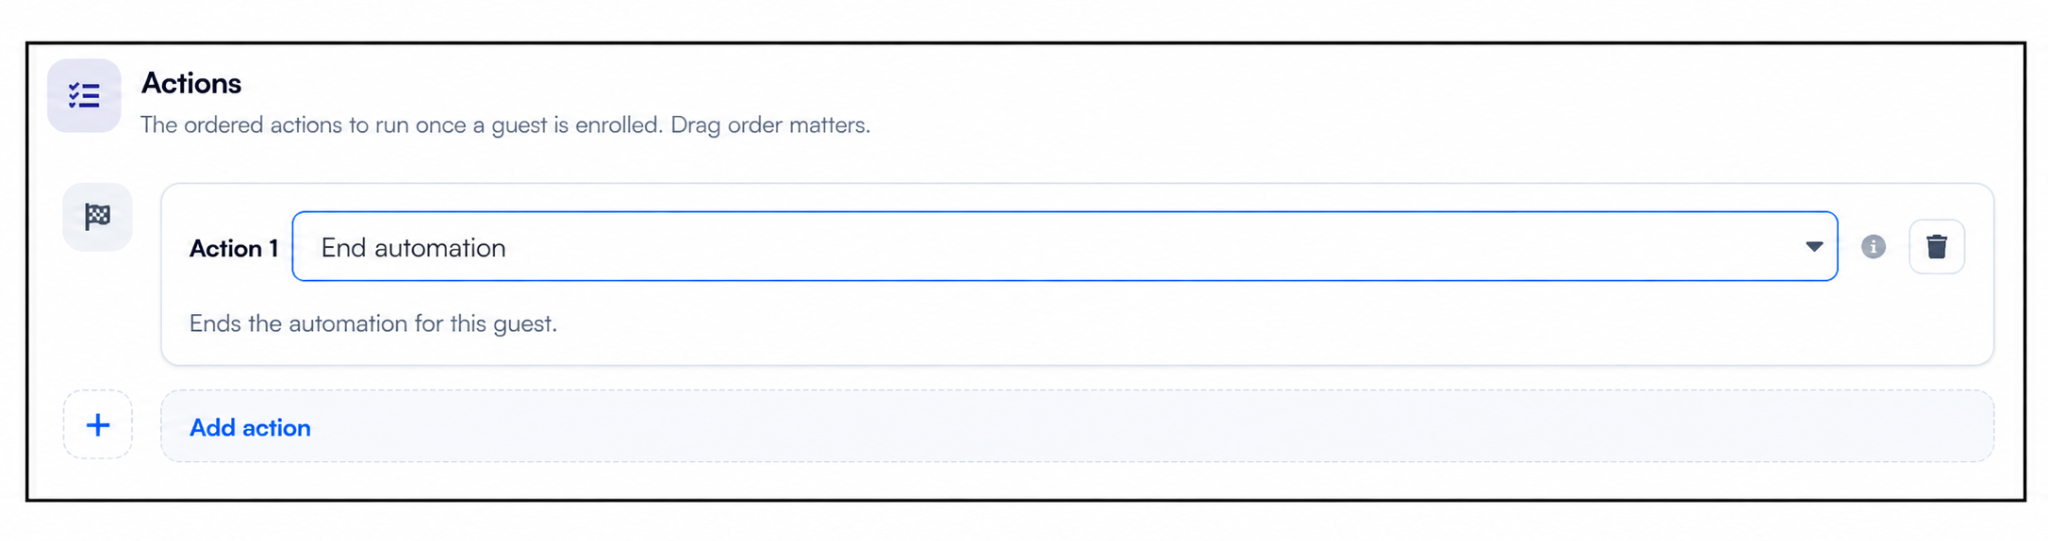
The End Automation action stops the automation for that particular guest. You can place this action after setting up multiple conditions and actions within the workflow.
Once the automation reaches the End Automation action, it immediately stops and will not continue to any actions or conditions that appear after it. This means you can place it anywhere in the workflow to ensure the automation ends for a guest once the required condition or action has been completed.
Now that you've configured the Actions details, the Final step is to set your Review . Learn more about setting Review.
For additional assistance or questions, contact the WelcomeScreen support team at: support@welcomscreen.com


.png)